

I make decisions on anything that costs more than five dollars slow. Really slow. I research, I price check, I research some more. So last Christmas when I decided I couldn’t edit video any more on the computer I had and that I needed another one, I was prepared to dig in for weeks of information gathering before making my decision.
Cut to just over two months later, and I found myself a few days ago looking at a most beautiful sight: a table covered with parts I would assemble for my first PC build.
Move over, Solace (my cosplay Spartan-suit-of-armor project), your time will come: you know lag makes mama cra cra, and this baby is begging to race circles around our current computer!
As I unpacked the box of parts, I had thoughts and feelings for what lay ahead:
“This is awesome!”
“This is a GREAT challenge!”
“I KNOW I can do this!”
“This seems REALLY easy!”
“I hope I don’t run into any huge road blocks.”
“I hope I don’t accidentally fry something… do I need to wear rubber-soled shoes? O.o”
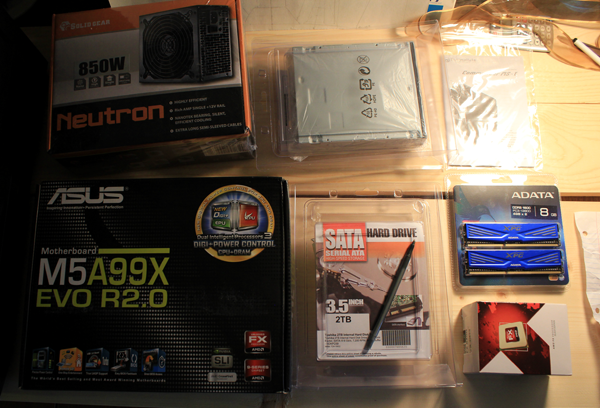
It was so exciting to see all the parts finally on my table.
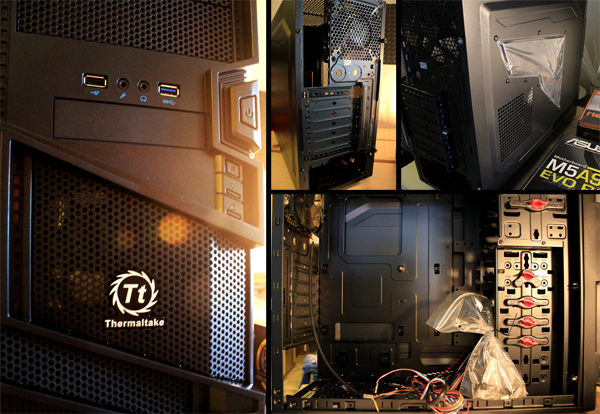
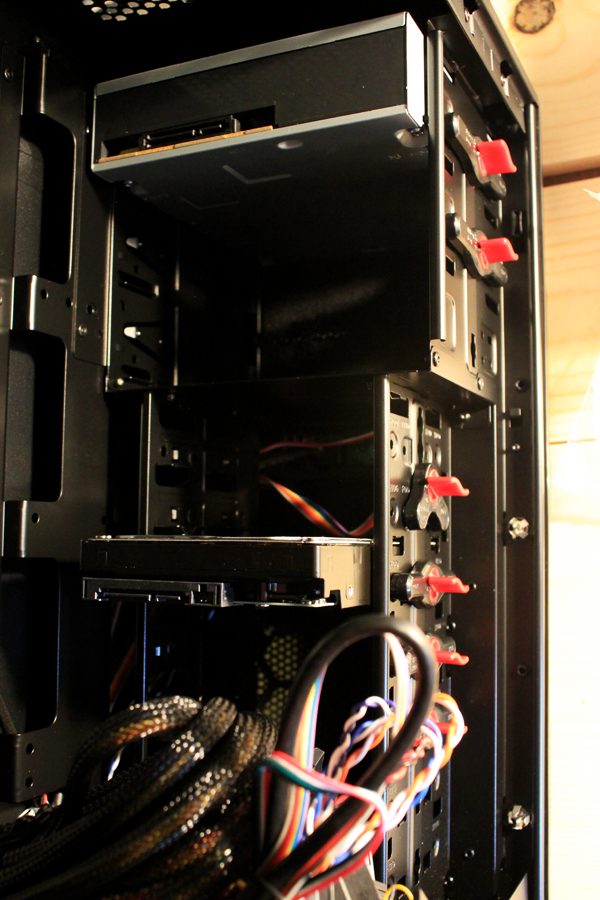
I was prepared to slap all the components into a plain, black case, but this one was around the same cost. It has all the quick-snap shelves in it for hard drives, disc drive, etc., tons of vents, AND a cool little window so I’ll be able to see all my hard work.
The first part going in was the power supply. This thing is a BEAST!
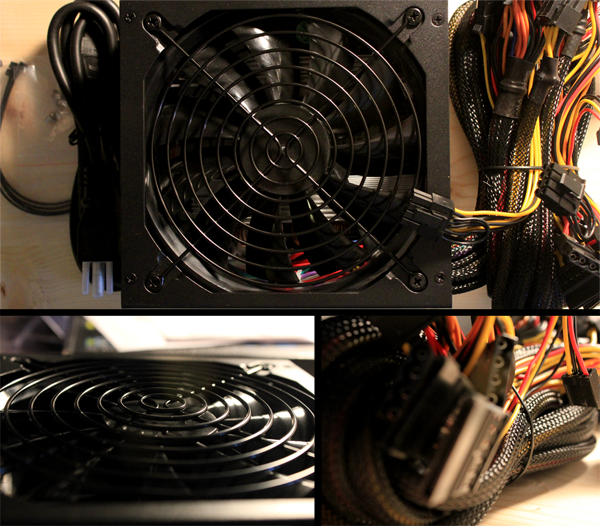
I was going to go one smaller, but a gamer friend talked me into upgrading ahead of time. Want to give a big shoutout to Tim the wolf-man for setting me up with these parts!
But wait – – wow, really?! No pics in the instructions or hints which way is up on this thing?! I can *assume*, but obviously I want to make sure it’s right, so off to the PC-build-vid-for-newbs recommended by forum goers at Toms Hardware (Newegg how-to vids at end of post)
BUT – I can’t watch the vid yet because my current computer is taking 20 minutes at a time to save and render the audio from last night’s gaming session with Casually Competitive Gaming. Normally it would take a couple of minutes to render 2.5 hours of audio. Do you see why it is imperative I have a new computer!?! I simply can’t continue to share let’s play videos and edit machinimas and create music or do *anything* on my current computer like this. Even surfing the web sometimes is like having dial-up.
This is way past due.
This horrible, horrendous delay to my creative expression and ability to share videos and such is what has driven me to finally build this new computer. And so, I remind myself as I watch the progress bar inch forward ever soooooo slowly: “This is temporary”.
And I smile.
An image search of “installing PC power source” doesn’t help. In some images the power button faces this way, in others it’s facing that way. Sometimes it appears to be attached to the side, sometimes the bottom. Sometimes the female plug is right side up. Sometimes it’s upside down.
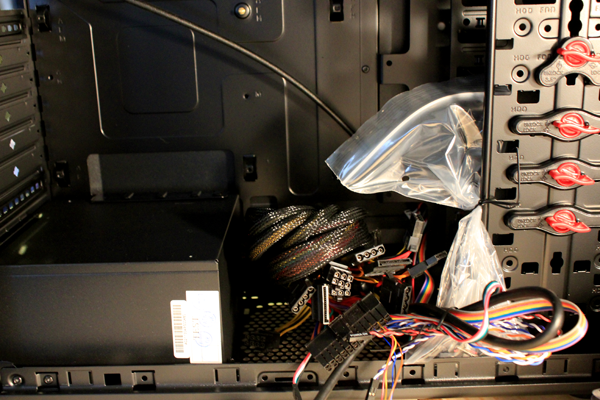
I decide to install it by instinct, planning to check the video after my audio file is done rendering to make sure I’ve done it correctly, but as I begin to put the power source in place, I hear a scritching sound. I lift it and sweep under with my fingers, thinking I’d find a screw, but there’s a part of the case sticking up, making it so the power source can’t lie flat!
What?! The wrong size?!!
“Oh shit!” I think, pulling it out to inspect the bottom, and sure enough, there’s a frickin’ 1/2 inch scratch on my perfect – no longer perfect – power source! Argh! I hope the damn thing doesn’t wind up on the inside of the case with the scratched side facing up where I can see it, that’ll drive me nuts!
According to the Newegg vid, since my case has a large vent on the bottom with a dust screen, I “can safely point the fan down”, so that’s what I do next. Looks like the scratcher piece of the case adjusts, so I look into that as well, moving it to make a wider space for the power supply.
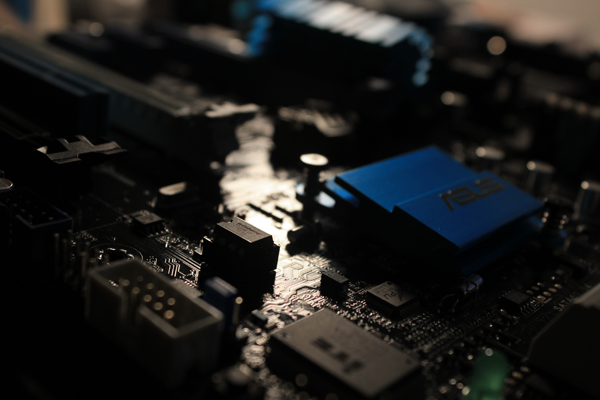
Then it was time to unbox the motherboard – O…M…G! Is it weird that I think this thing is beautiful?
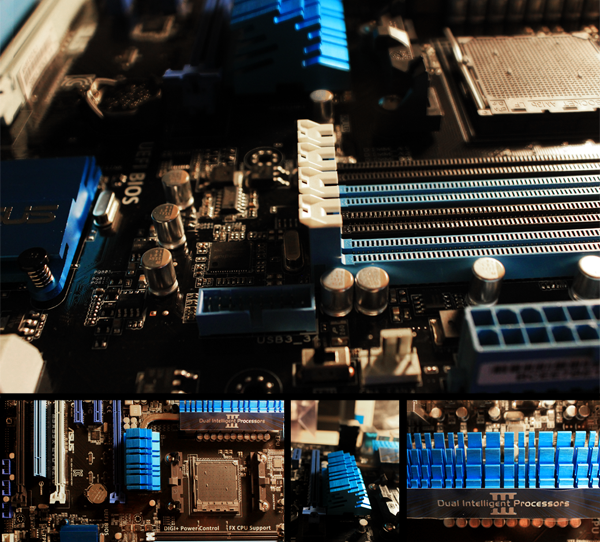
So… much… blue! :D And all those intricate teeny parts that I have NO IDEA what they do.
I had gone to the motherboard following the case installation guide, but the Newegg vid was putting in drives and such first, which made sense because I didn’t want to bump the motherboard while it was in the open case. So leaving it open on the table (eek! I’d tried to put it back in the bag but couldn’t without touching the back, so I’m being VERY careful), I turn to installing the disc drive.
Thing was a BITCH to get open!
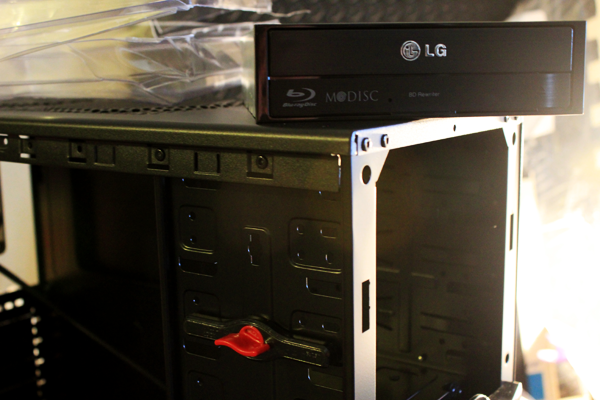
But oh so easy to install. Are you kidding me? People get paid HOW much to do this? Installed the HDD (hard disc drive – 2TB of storage) the same way, and now it’s time to assemble the components onto the motherboard.
The Newegg how-to shows the motherboard components being assembled before mounting the motherboard into the case. I opt to follow instructions in the motherboard booklet, which has you install the motherboard into the case first.
I line up the screw holes in the case with the motherboard. It took me about 20 minutes to get it in, because they wouldn’t line up and I was being really careful. Turns out this little sucker wasn’t popped in all the way:

There were like 40 screws in different shapes and sizes all in one bag, and no instructions which went for what (found it later, after everything was all assembled, at the front of the booklet, instead of where it was obviously needed! O.o), so I had to use my amazing powers of deductive reasoning to figure out which ones to use to secure the motherboard. (Found out later I was wrong ;p Still don’t know if it makes a diff)
Started all bolts a couple turns to line up all the holes, then worked around the board tightening them down lightly until they stopped, then about 10° more.
Back to the motherboard guide, it was time to insert the CPU (central processing unit).
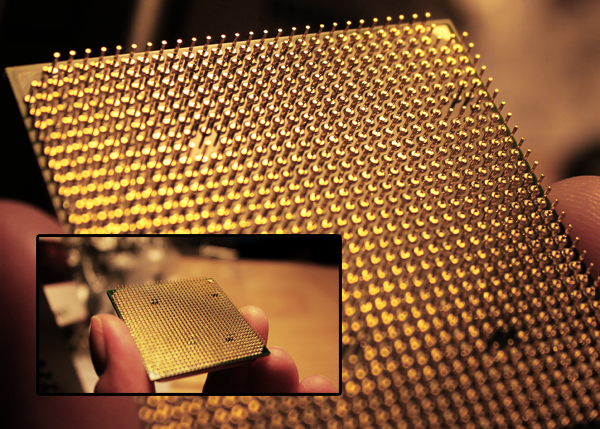
Such a tiny thing with such power! My installation process was different than the Newegg video, so I really needed to pay attention.
The AMD CPU goes in a little weird from the video. You lay it down and lower the arm and I guess all the gold pins get pinched in the holes, which is what holds it there.

It freaked me out a little as I lowered the arm on the left, because there was some resistance and I heard slight crunching noises… I hope it all works when I’m done… D:
Had another little freakout moment installing the heatsink, when the lockdown mechanism wasn’t anything like the one in it’s own manual!. I figured it out, but once again found myself applying more pressure than I was comfortable with. Did I mention I’ve broken shovels? Axes and hammers? Bolts? I’ve stripped screws & bolts and I’ve over-woman-handled several other things into non-functionality. I’ve even shattered contact lenses washing them, so needless to say I’m trying to be VERY CAREFUL!
This concludes Part 1 of “Building My First PC”. Next up: MEMORY!
~CHa0s
—————————————————-
See the Newegg videos and a link to Toms Hardware’s “Step by Step Guide to Building a PC” post below, which I plan to include in all “My First PC Build” posts for reference.
Toms Harware: Step-by-Step Guide to Building a PC
– http://www.tomshardware.co.uk/forum/274745-31-step-step-guide-building
Newegg TV: How to Build a Computer:
Want to be notified when Halo Diehards has a new post? Subscribe to our Twitter, @HaloDiehards!
2 comments for “Building my First PC – Part 1: Should I Wear Rubber Shoes?”